No-Bake Snow Skin Mooncakes
Mooncakes without an oven: glutinous rice flour, rice flour, and wheat starch steamed into a chewy snow skin, wrapped around custard or red bean filling, pressed and chilled. Silky, cool, and festive.
Prep Time
60 min
Cook Time
30 min
Difficulty
Medium
Servings
8 servings
Allergen Warning
This recipe contains: Gluten, Dairy, Eggs
Ingredients (8 items)
- Glutinous rice flour45 g
- Rice flour (long-grain, indica)35 g
- Wheat starch (non-glutinous clear starch)20 g
- Powdered sugar40 g
- Milk180 ml
- Unsalted butter20 g
- Custard or red bean filling320 g
- Cooked glutinous rice flour (dusting)30 g
Instructions
- 1
Toast the dusting flour first: dry-fry 30 g glutinous rice flour over low heat until faintly golden and nutty, then cool.
Cooked flour is the soul of non-stick handling.
Low Heat - 2
Make the batter: sift glutinous rice flour, rice flour, wheat starch, and powdered sugar into a bowl; stir in milk until smooth, then sift once more.
- 3
Cover the batter with heatproof plastic wrap, poke a few holes, and steam over high heat for 25 minutes.
The holes let steam circulate; uncovered, dripping condensation makes dead hard spots.
High Heat - 4
Doneness check: the whole mass turns translucent ivory with no white raw center, and a chopstick comes out clean of raw batter.
- 5
While hot, add the butter and mash it in with a bench scraper until melted and the dough no longer sticks to the bowl.
Scraper first, hands later — no burns, no sticking.
- 6
Cover and refrigerate 30 minutes to firm up for easier handling.
- 7
Divide the filling into 8 balls (40 g each); divide the snow skin into 8 portions (about 40 g each).
- 8
Dust your palms lightly with cooked flour, flatten a skin into a small bowl shape, wrap a filling ball, and seal tight with your tiger's mouth grip.
Seam-side down for a clean mold print.
- 9
Dust the mold lightly, knock out the excess, press the wrapped ball in one even stroke, and unmold in one motion.
- 10
Chill at least 2 hours before eating — cool, chewy, and set.
Best the next day; finish within three.
Voice Guide
Step 1 / 10
Nutrition Facts (per serving)
Estimated from ingredient database. Actual values may vary.
Food Safety Reminder
Please check ingredient freshness before cooking. Ensure food is heated to a core temperature of 70°C or above. Use separate cutting boards and knives for raw and cooked foods to avoid cross-contamination. If you have food allergies, please verify all ingredient labels carefully.
Chef's Masterclass
Nine out of ten snow skin failures come down to two things: under-steamed dough and everything sticking to your hands. This lesson covers doneness judgment and three anti-stick techniques.
Key Techniques
Judging when the dough is fully steamed
A cooked dough mass is translucent ivory throughout, with no white raw batter in the center, and a chopstick inserted comes out clean. Under-steamed dough develops hard, raw-tasting cores after chilling.
Three anti-stick methods
① Flour method: a whisper-thin layer of cooked glutinous flour — the safest bet. ② Oil method: a little cooking oil rubbed onto disposable gloves. ③ Warm-press method: while the dough is still warm, mash it with a bench scraper until it leaves the bowl before touching it. Use all three together if you like.
Adjusting skin consistency on the fly
Too sticky? Knead in cooked glutinous flour 5 g at a time. Too dry and cracking? Add milk 5-10 ml at a time. A correctly balanced skin chills into something chewy yet tender — no tooth-packing, no cracked edges.
Common Mistakes — Wrong vs. Right
Steaming without covering the batter.
Lid condensation dripping into the batter creates dead hard lumps — always cover with heatproof wrap or foil, then steam.
Grabbing the hot dough with bare hands right out of the steamer.
Mash and mix in the butter with a scraper while hot, then handle at warm — not scorching — temperature with gloves.
Crushing the dough into the mold with brute force.
Light flour dusting, knock out the excess, seat the ball level, press evenly in one stroke, and unmold in one clean motion — that's how you get crisp embossing.
- Toast extra flour for dusting — it keeps in the fridge and doubles as the coating for Japanese wagashi.
- Chill at least 2 hours to set; the flavor rounds out best by day two. Finish within three days.
- Color variations: whisk 5 g matcha or 10 g purple sweet potato powder into the batter for gradient skins.
FAQ
Can I prepare this dish in advance?▾
Most Taiwanese home dishes can be prepped ahead. Wash and chop ingredients in advance, and pre-mix sauces. Cooking day will be much faster.
Where can I buy the ingredients?▾
Most ingredients are available at Asian supermarkets, H Mart, 99 Ranch, or online. For specialty items, check your local Chinatown or order from retailers like Weee!
Can I make a vegetarian version?▾
Yes! Replace meat with tofu skin, dried shiitake mushrooms, or king oyster mushrooms. Substitute oyster sauce with vegetarian mushroom sauce for great results.
Related Recipes
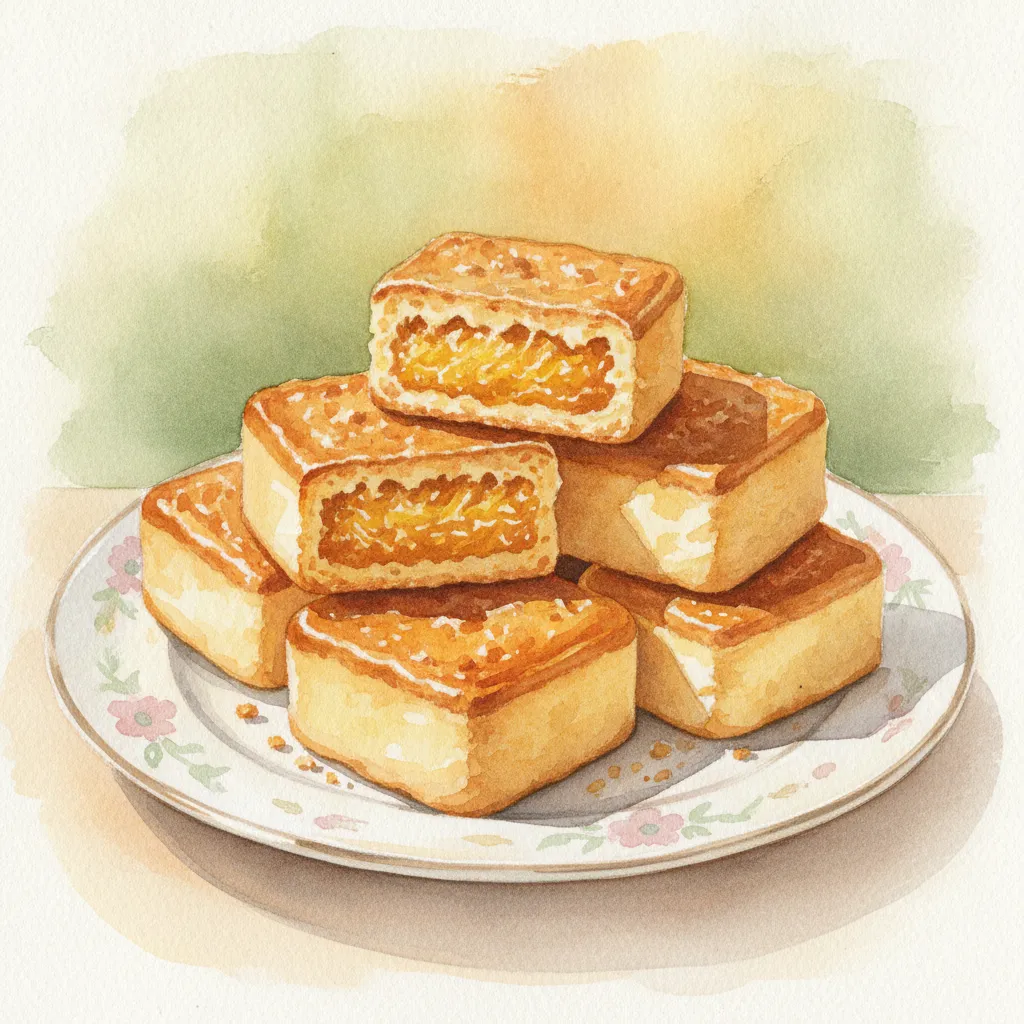
Pineapple Cakes
Taiwan's most iconic souvenir! Golden, buttery pastry shell wrapped around sweet-tangy pineapple filling. Perfect with a cup of tea.
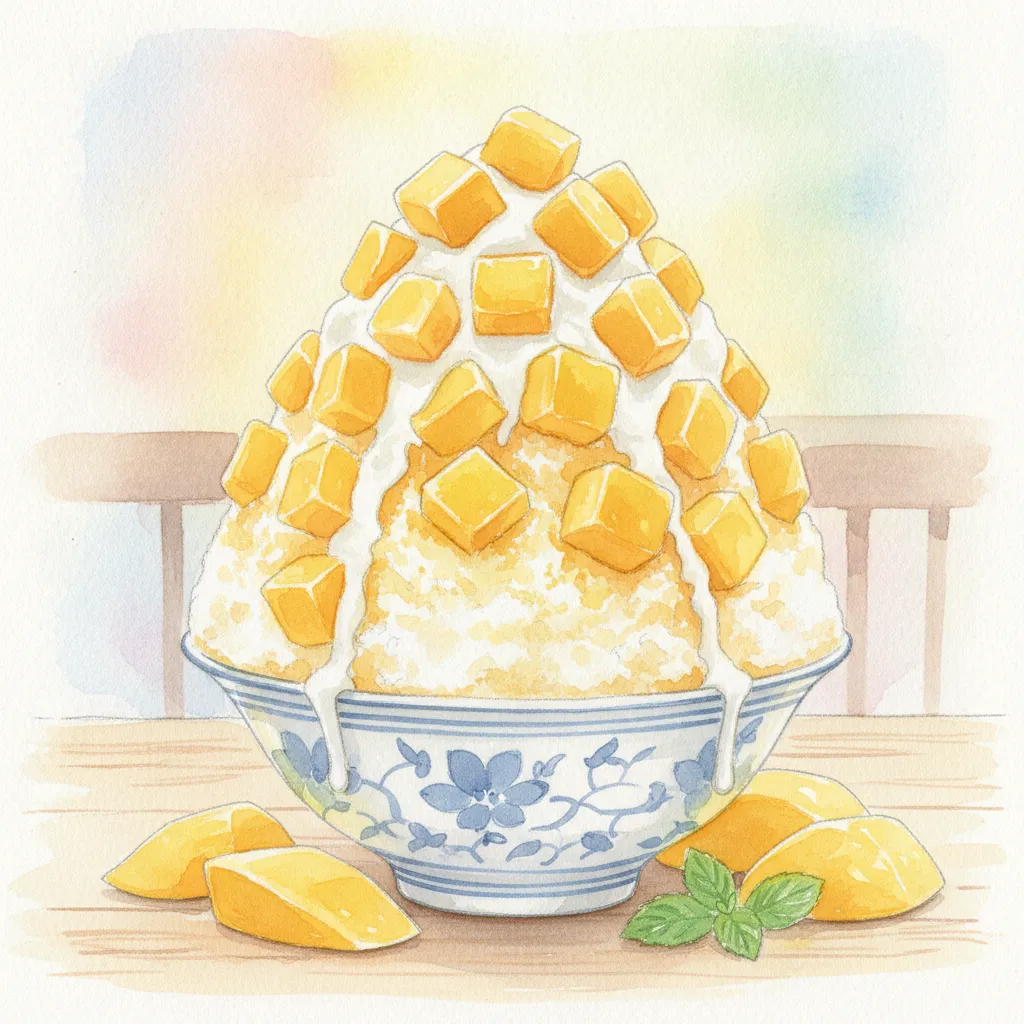
Mango Shaved Ice
Summer in a bowl! A mountain of fluffy shaved ice topped with fresh, sweet mango, drizzled with condensed milk. Pure happiness in every bite.

Aiyu Jelly Ice
The most refreshing summer dessert! Handmade aiyu jelly — crystal clear and meltingly soft — with lemon juice and honey over crushed ice. Pure cooling bliss.